Wellness Design Home Makeover in One Weekend!
joy of nesting
I’m so excited to share with you that I’m featured on Deirdre Fitzpatrick’s, Dying to Ask Podcast talking wellness design and how to give your home a wellness makeover in one weekend!
Dying to Ask is her podcast where she gives candid interviews with celebrities, influencers, authors and entrepreneurs for their ‘step-by-steps’ to success. Deirdre is a consummate pro, having won numerous Emmy Awards on her journalist work and news anchoring. She has been with Sacramento’s KCRA News for over 20 years. She’s a marathon runner, competing in over a dozen marathons, and an Ironman triathlete.
I was so fortunate to have the opportunity to sit down with her and talk about Wellness Design and how to create a home that supports more health, wellness and joy.
Be sure to tune into Dying to Ask and if you enjoy it, please leave a review on her podcast. Your reviews are so appreciated, and they keep Deirdre’s kind of journalism available so we can continue to enjoy it!
Here’s that link.
I also have a special treat for you.
After listening to Dying to Ask, come back here and dive deeper into Deirdre’s and my topic, How to Give Your Home a Wellness Makeover in One Weekend that I wrote especially for her podcast listeners.
Enjoy!
Wellness Home Makeovers
Wellness Design is most often thought of in commercial buildings, green building and health facilities. But there are features and elements of it that are absolutely applicable to your home, and not just your kitchen and primary bedroom suite. Your home has a much bigger effect on your wellness, energy, productivity, efficiency, health and emotions than you probably realize.
The home makeover concept is fantastic and has worked for me for many years, even as a prerequisite to some of my full-service projects. I know without a doubt it will work beautifully for you because you’ll be working with many of the things you already like and are accustomed to.
Why Wellness Home Makeovers Work
First and most obvious, a home makeover makes your house look and feel better immediately. Every member of the family benefits from it and I promise if you rearrange your home furnishings in a great way, they will flock there. A new energy will be felt, and you’ll naturally gravitate there.
Second, is that when you’ve done a home makeover, you can actually see for yourself what your home is missing. By that I mean, it will become obvious to you through the process of rearranging, which pieces need to replaced, and which, if any, need to be discarded. This in turn saves money, time and frustration. A great home makeover keeps you from buying the wrong things and even helps you plan for future purchases.
What You Will be Doing during Your Wellness Design Home Makeover
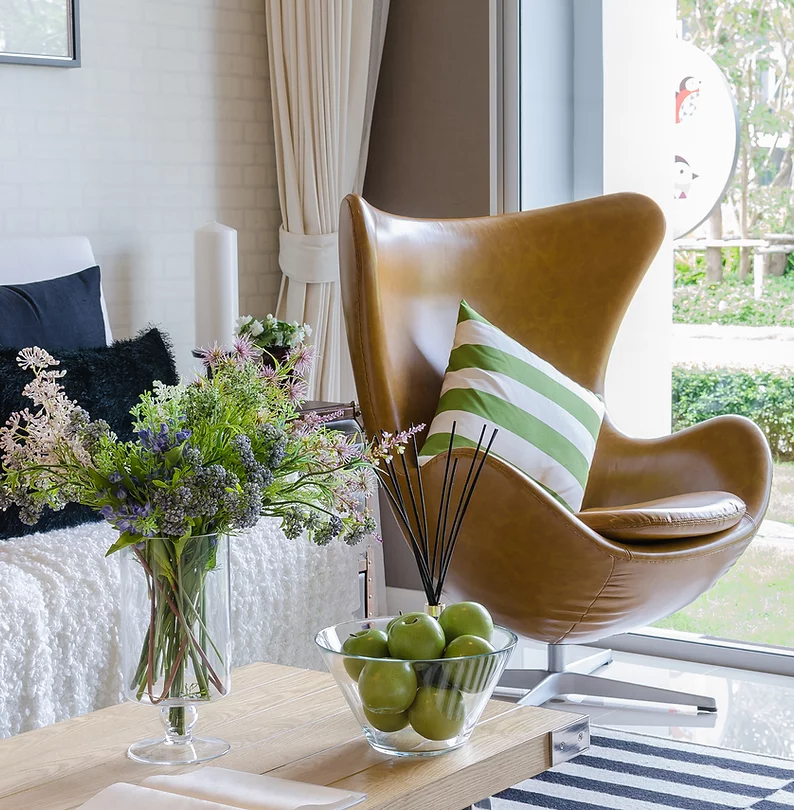
Over the weekend you’ll be placing furniture in warm and inviting conversation areas; hanging artwork; placing ambient lighting (table and floor lamps); editing out unnecessary or unattractive items; moving in new items from other, less used rooms; and arranging accessories in the most beautiful and natural ways.
Fair warning. You will be repurposing all the best stuff to your living room and entry. That pair of beautiful lamps in the guest room? The stunning vase in the master bath? Those just got put on hold with “Living Room’s” name on them.
STEP ONE
Arrange for one to two people to help you with the heavy lifting. Make it very clear to them that you will be “experimenting with furniture placement” to identify the best floor plan, otherwise they will think that you’re changing your mind and become aggravated.
Let them be in on the fun. Everyone wants to be a designer, husbands and sons included and quite frankly, they’re often a great help at design because they urge you to be practical, and practical is key when arranging furniture.
STEP TWO
Identify a service area, also called a staging area, such as a nearby spare bedroom or hall or kitchen table and set up a table for all the extra accessories you will be picking and choosing from.
STEP THREE
Bring out any and all old accessories including artwork from your cupboards and storage. Even include the things you don’t really care for. You can use them as visual aids for sizing and color if nothing else. Pull out hard bound books. Hard bound books work beautifully on tabletops! Pull out your all white candles, clean ones only. Pull out baskets, stacks of dishes, plants, pots and serving pieces.
STEP FOUR
Go to the spare rooms and bathrooms and bring out any favorite items that have been under appreciated there for too long.
STEP FIVE
Gather your tools. You’ll need a pencil, picture hangers preferably in three sizes, a tape measure, a hammer, glass cleaner, paper towels, and a rag. Yes, part of a makeover often includes cleaning!
STEP SIX
Completely un-decorate your room. Set all those items aside in a safe spot, preferably in the staging area where you can easily access them without risking bumping into them.
STEP SEVEN
Begin moving furniture. Please be careful not to trip, it’s a common problem with this particular type of project. When you back up to assess your work, be sure to always look behind you for the dog, cat, kid, and errant chair. I’ve had every accident imaginable doing this in my lifetime.
Practicality and scale are basic priorities when placing furniture. Every room needs at least one fairly large, what I call ‘anchoring’ piece.
For instance, in my small entry, I placed a very large sideboard. It just barely fit the wall I placed it against with two inches to spare yet that piece ‘makes’ the entry. In my tiny home office, I placed a large pine hutch between two windows with no spare space on either end. My mom and husband warned me it wouldn’t fit. Yet it was absolutely perfect and again, ‘made’ that room too. So don’t be shy with scale.
Observe your natural foot traffic. Always have a clear path from door to door ideally with a minimum of 36 inches of clearance. You can have a turn or two but if getting from door to door means zigzagging or stepping over something, then it’s not functional, and dysfunction always looks silly.
Always begin with the living room and entry simultaneously. Choose a piece of furniture for the entry that best defines the space. For a recent client, I took a small buffet out of the breakfast area and repurposed it to the entry. I topped it with a lamp, a large artwork for the wall above, two candlesticks, some hard bound books, and a few nicely framed family photos.
I find the boldest changes are often the ones that take your home to that next level.
STEP EIGHT
Once you’re positive the furniture is placed in the most practical yet striking ways, it’s time for accessories.
As you place accessories, step back as you work (looking behind you) and assess how it looks. If it doesn’t jump out at you as feeling amazing, it probably isn’t. Keep trying. As a rule, it takes me four to ten times before I get a table arrangement just right. As contradictory as it sounds, I spend a little extra time to make sure it all looks unstudied.
Clearing the Cleansers and Cleaning the Air
Once you’ve given your home a wellness makeover, consider ways to remove any toxic products from the kitchen, garage, and bathrooms. Save them in one central location, contact your local waste management and see what they recommend for disposal.
Except on the most inclement days, open your windows for 15 minutes. Fresh air makes your home feel and smell great.
Add fresh plants like fig, Boston ferns, maidenhair ferns, snake plants and violets to your decor. Plants are great air scrubbers.
Download Your Free Gift
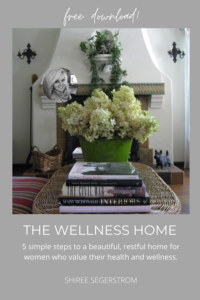
To get started on a home where you feel healthy, happy and connected grab my complimentary design and wellness download, The Wellness Home.
It’s the prettiest little book. It’s a quick read with super easy design solutions that help you lead a beautiful, healthier lifestyle at home, plus my 3-to-5 Things Framework that gives you step by step actions to get started and stay on track.
That’s it for today. Thank you for stopping by!
Shiree’
What is Wellness Design? Learn more about the connection between your wellbeing and your home, featured on Deirdre Fitzpatrick’s Dying to Ask Podcast. And if you’d like to dive deeper into this topic, check out my blog post, “Hiring an Interior Designer”.
